Ecwid is part of the Lightspeed family and claims to have more than one million active users and attracts business basically due to his competitive pricing. We built an integration into Ecwid that lets you process transactions in your Ecwid Store via every payment processor that is integrated.
The following documentation will describe you step-by-step how you can integrate the payment gateway into your store.
Before you can use Ecwid you have to make sure that the Ecwid feature is active and visible in your menu. In order to do this you have to first navigate to the feature list and activate the Ecwid Feature in Space > Features. Here you find the Ecwid Icon. Click on the "Activate" button.
|
Note
|
In case you do not see any Ecwid logo there it can be that the feature is not activated in your subscription and you need to change the subscription. In this case you navigate to Account > (Select your Account) > Billing. Here you can select to change your subscription. |
In order to link the application to your Ecwid shop navigate to Space > Ecwid and click to add an integration. Select a name for the integration.
It is possible to link your store only with a store view. This can be useful in case you want to use only some of the payment methods in your Ecwid store as all of the active connector configurations will be pushed into your store (see below).
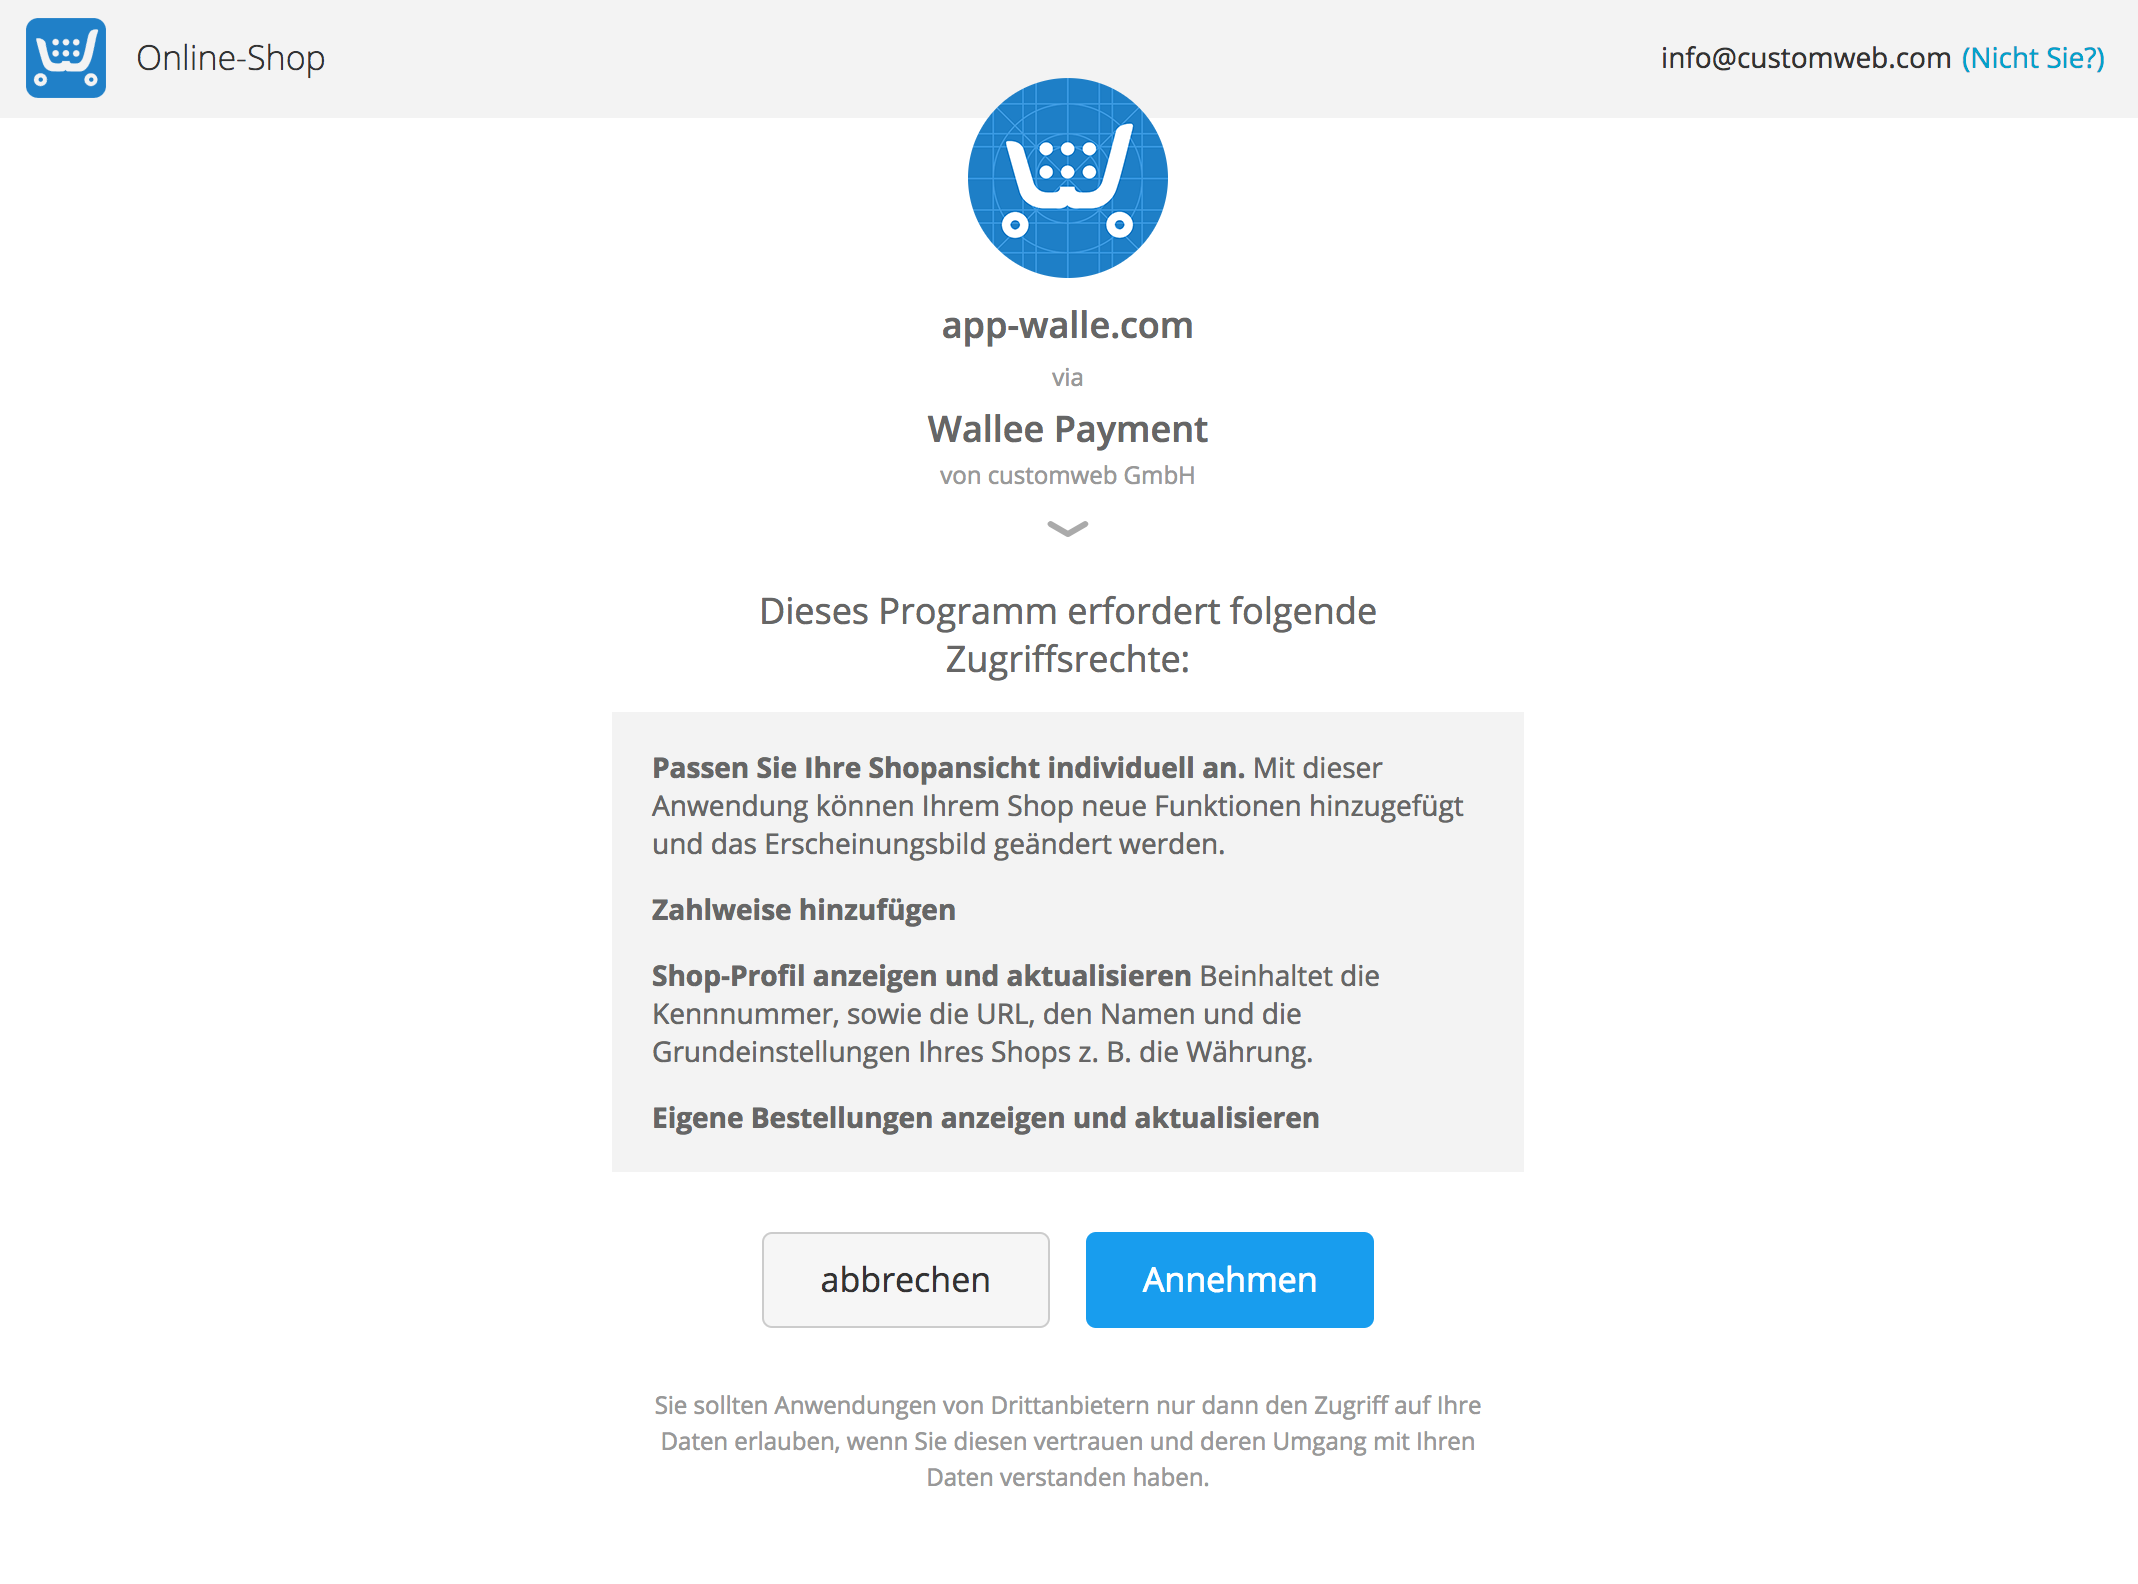
After the Ecwid integration was created you have to link the integration with your store. In order to do this click on link. This will redirect to the Ecwid Login page where you are able to login and grant the necessary access rights to our application in order to perform the necessary changes.

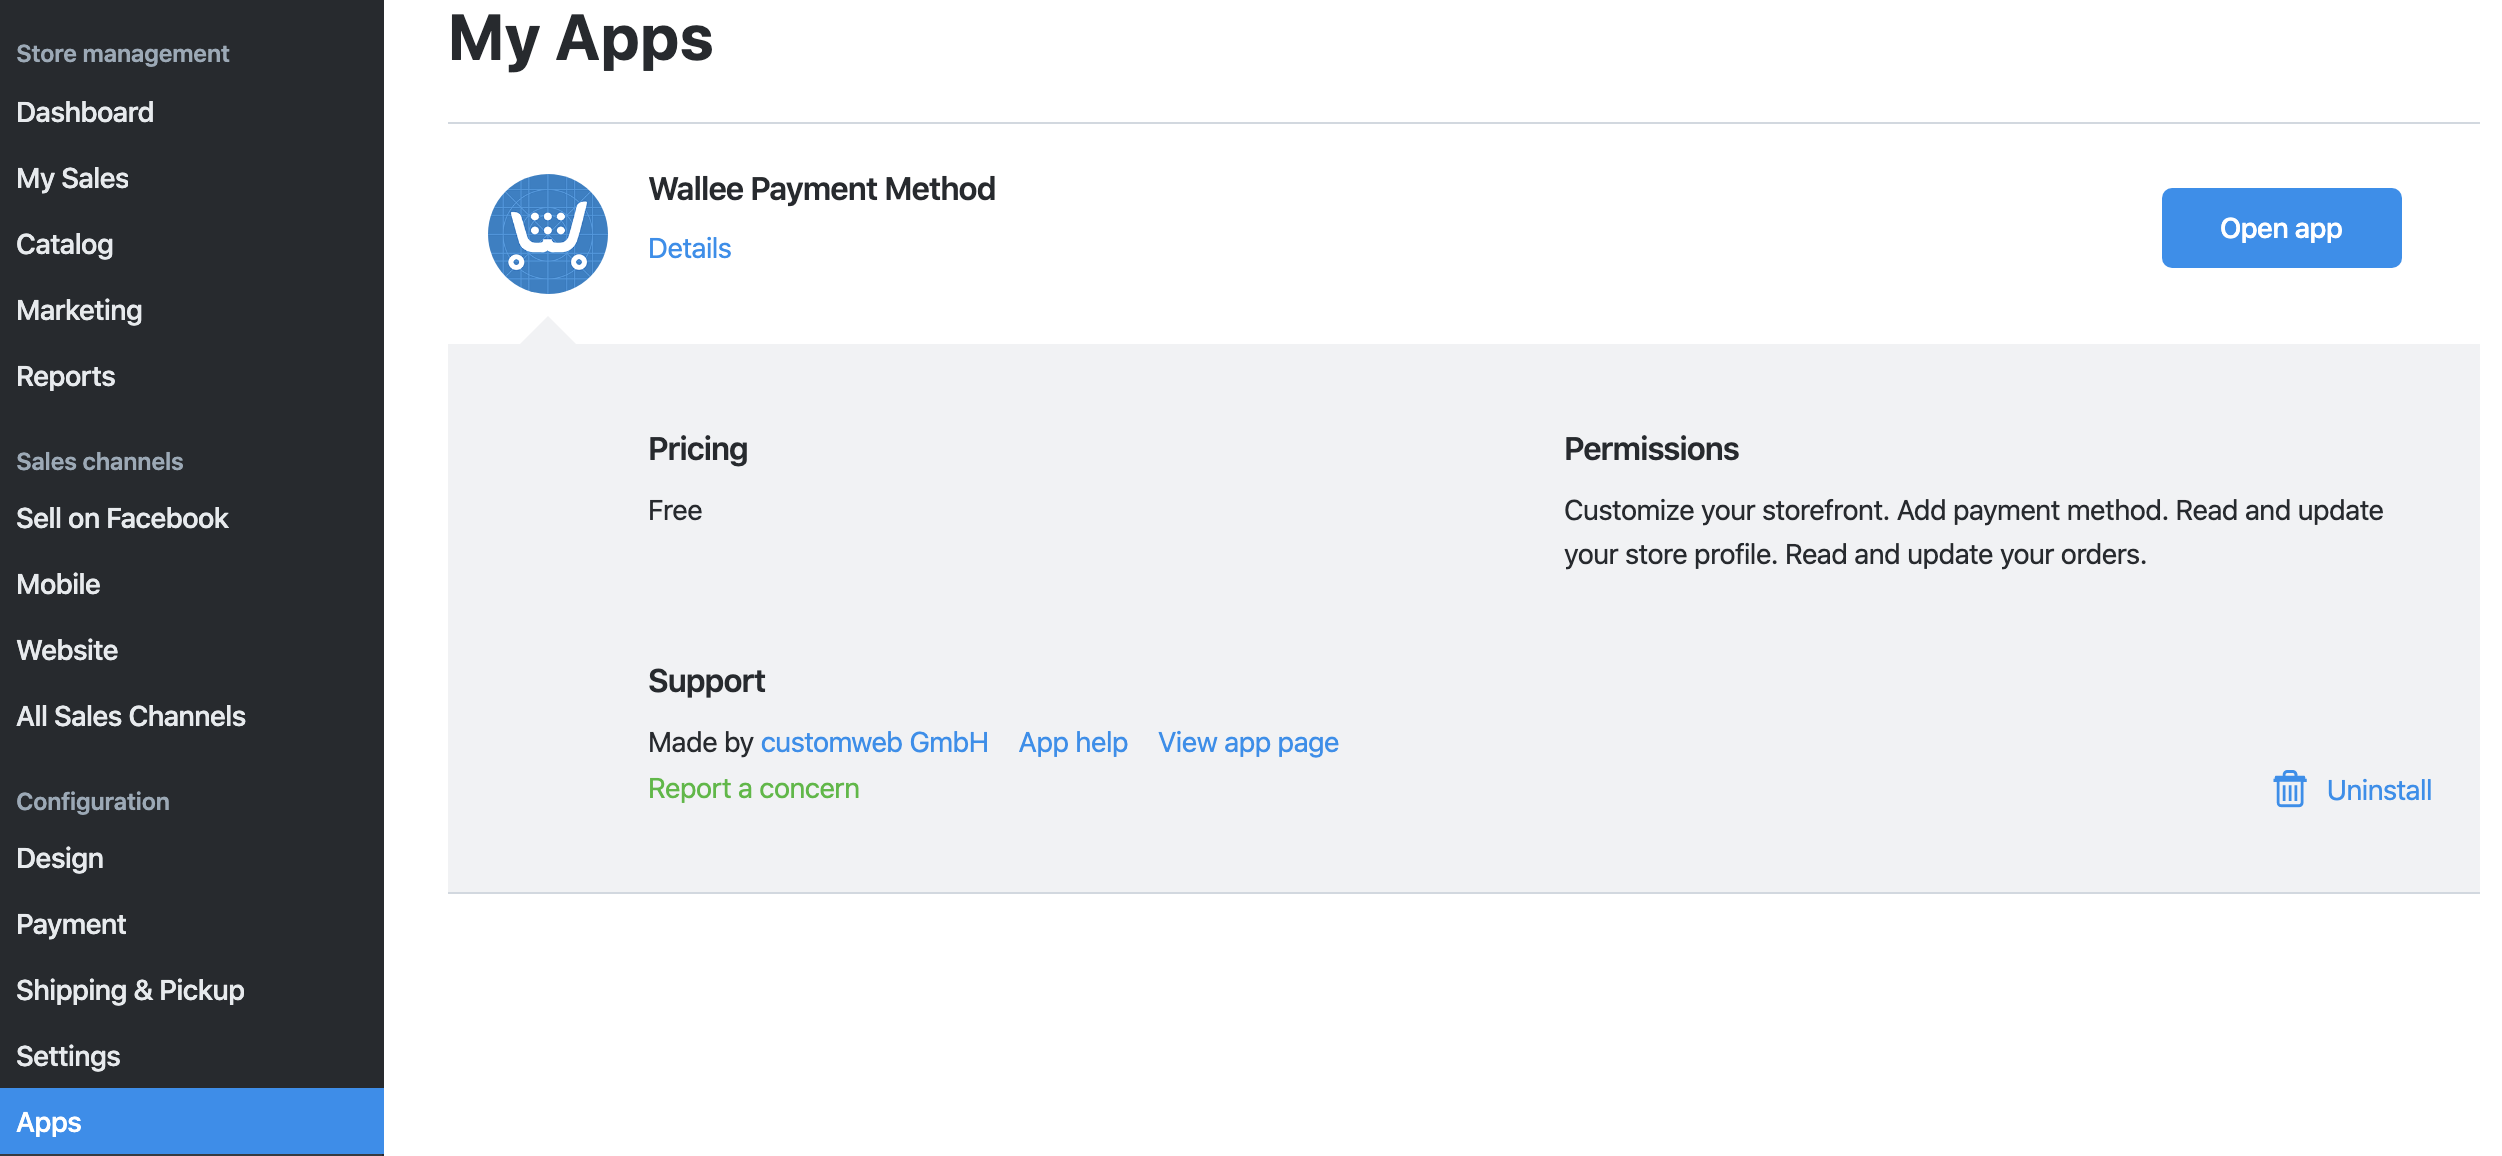
The linking of the application will install an app on in your Ecwid store that is accessible in your Ecwid backend under Apps > My Apps. This is also the place where you uninstall the app in case you want it removed.
|
Note
|
Unlinking the integration inside the application will not automatically uninstall the app in your Ecwid Store. |

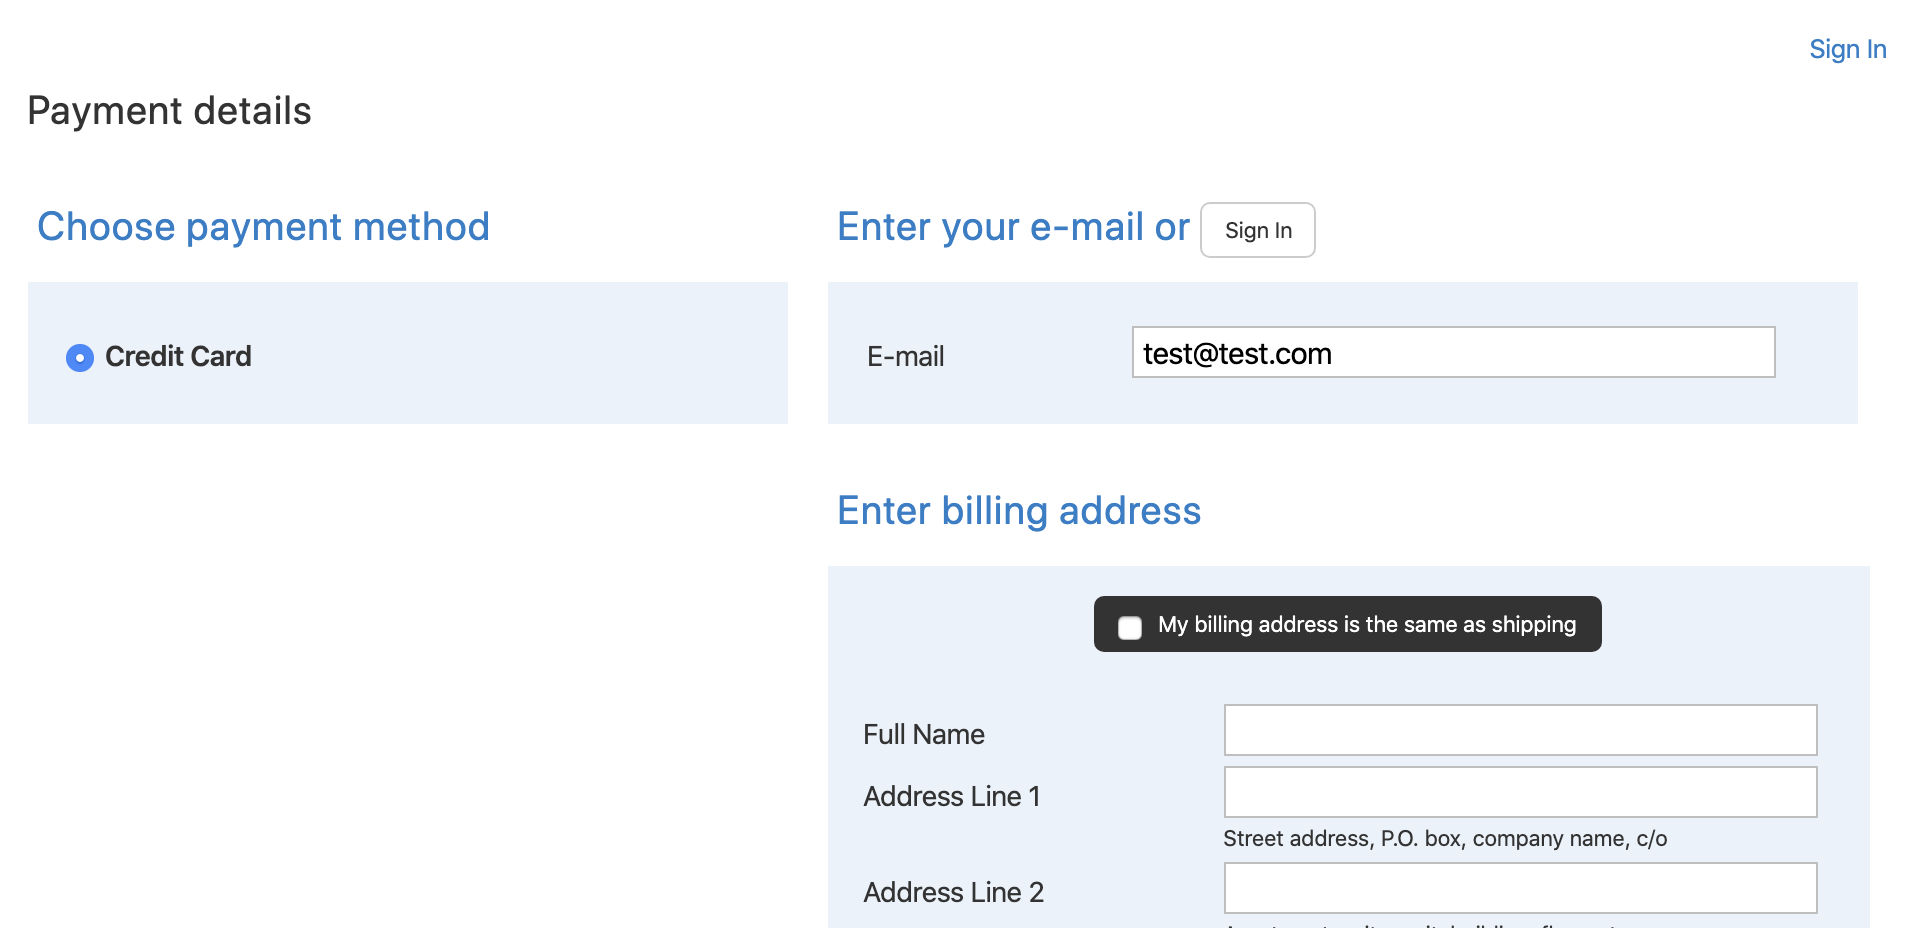
Once the app is installed a new payment method can now be selected by your customer. Once your merchant select the payment method in Ecwid, this will take them directly to the payment page to enter the credit card details.
|
Note
|
Make sure you created the processor configuration, payment methods and connector configuration for the payment methods you are supporting. A detailed description and setup guide for processors can be found in our processor documentation. |

Once your Ecwid Store is linked all connector configurations will be automatically be pushed into your Ecwid checkout and can be selected by your clients. You do not need to enable them separately in your Ecwid Dashboard.
All you need to do to accept payments via your payment service provider is to create the necessary configurations inside your space. More information about our concept processors and the configuration can be read on our Processor Documentation.
|
Note
|
In case you want to have different payment methods activated in your Ecwid store than generally in your Space. You should create a new Space View (under Space > Space View) and select this when creating the Ecwid integration or your create a new Space (under Space > Click on Create). |
Once the payment is successful the order will be created in your store. Depending on your processes
the payment will either be marked as Paid when the transaction state inside the application
has switched to Fulfill. Otherwise in case you only authorized the payment, the order state
will remain on Awaiting Payment.
When your client cancels the transaction the order will be marked as Cancelled in your store.
Refunds, Completions etc. will not be synchronized into your Ecwid store. The transaction management has to be done directly inside the application or in your processor backend. See the referenced documentation for further information.
