We can also handle documents for you and send them to your clients. There are several reasons why you want to use this feature:
-
If your application has no feature for creating PDF documents you can simply use ours and you do not have to care anymore.
-
If your application cannot sent the PDF documents via email to the clients.
-
We discovered that the document handling and especially adapting documents is often a real pain. We offer therefore an easy and convenient way to adapt your documents to your template.
-
Some payment processors have very specific requirements on the look and feel as well as the payment information that need to be part of the document. For a lot of shopping cart adapting the document generation can not be done without overwriting core files.
|
Note
|
The document handling can be configured inside the connector configuration. In order to turn it of go to Space > Payment > Configuration > Connectors. |
Generally you have two options. You either create your own document templates for invoices, packing slips etc. Or you start to overwrite the existing files. However, in this case you can only use one active version for the different templates. In other words you can then only have one specific invoice template, packing slip template etc.
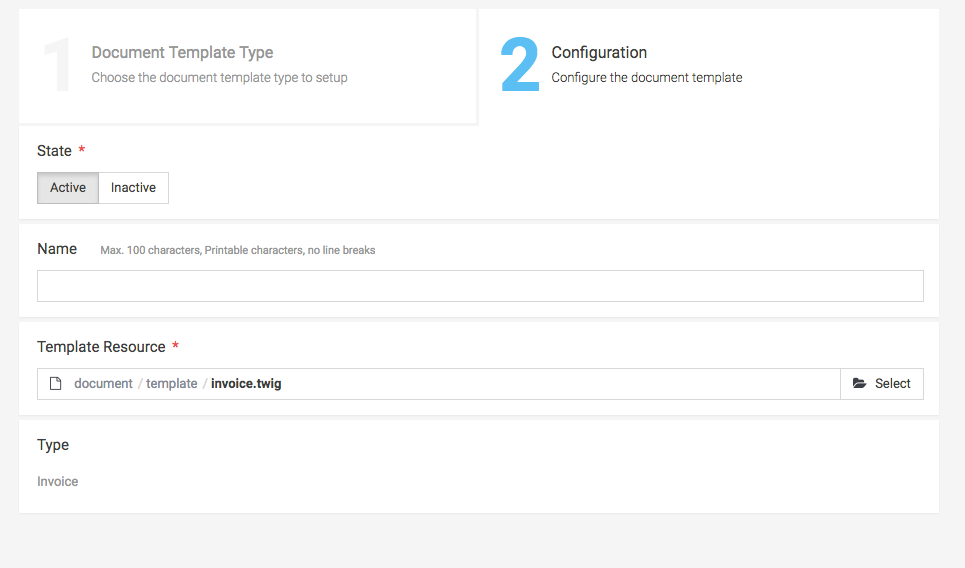
However, if you want to internationalize or assign a different template to a specific connector you have to start creating templates. Templates can be created for all kind of different document types under Space > Customize > Document Templates. If you click on create document you will be asked what type of document you want to create. Based on the type you can define additional entities. Select your template file in the resource editor that should be used. Once the template is created you can select to use it for connectors etc.
Figure 1. Create a document template in your space under Space > Customize > Document Templates.
To make the communication with your customers more personal you may want to customize the templates of your documents (for example by adding a logo or your company design style). You can easily do this either uploading your template or creating a new one in resources.
The templates are written in the twig language. Below you find some general information
about how you can customize your documents. A more detailed documentation about how twig can be used can be found in our
twig Documentation.
All resources that are connected to the look and feel of documents can be found in
the document folder in the resource editor:
-
css-folder: Contains all CSS-files that are used to style your templates. We use a specific .twig language to style the documents.
-
fonts-folder: Inside the fonts folder you can store specific fonts that you want to apply to your documents (make sure to specify the use inside the CSS-file).
-
images-folder: Contains the images for the documents including the background pdf. The background PDF contains the static background of your document. The other elements are printed on top of this PDF. Which background is used is also specified inside the CSS file.
-
template-folder: The template folder contains the .twig template of the documents.
|
Note
|
If you upload files you explicitly agree that you are in possession of the needed intellectual property rights to share the files with us. We guarantee you that the resources can only be accessed by users that have access to your space. |
Here you find some useful general information about how you are able to style your documents.
A more detailed documentation about how twig can be used can be found in our
twig Documentation.
It is possible to use specific fonts in your templates. In order to do this upload your .ttf files into the font folder and make sure that you include the files in the css.
Here is an example:
@font-face {
    font-family: "OpenSans";
    font-weight: normal;
    src: url('resource:/document/fonts/OpenSans-Regular.ttf');
    -fs-pdf-font-embed: embed;
    -fs-pdf-font-encoding: Identity-H;
}When creating the document we print the dynamic content over the background document
that is defined in the /documents/css/base.css file in your space. The
template is used for all documents.
@page {
	background-image: url('resource:/document/images/document-background.pdf');
	padding: 0;

	/* Border of the Document */
	margin:  30mm 10mm 20mm 10mm;
	size: A4;
}
In order to adjust the document to your need you can either change the path here or overwrite the file
inside /document/images/document-background.pdf by your own document template.
It is also possible to have a different template for the first and all following pages. To do this you have to
add the @page:first selector to your base.css file.
@page {
	background-image: url('resource:/document/images/document-background.pdf');
	padding: 0;

	/* Border of the Document */
	margin:  30mm 10mm 20mm 10mm;
	size: A4;
}

@page:first {
	background-image: url('resource:/document/images/first-document-background.pdf');
}
This will use the document-background.pdf for the following pages and the first-document-background.pdf for the first page.
You can use variables inside your template files. All available variables that are available in the respecitve context
are displayed in the resource editor in the lower tab including a description of the variables. You can use the
twig syntax to interpret those variables. A more detailed documentation about how twig can be used can be found in our
twig Documentation.
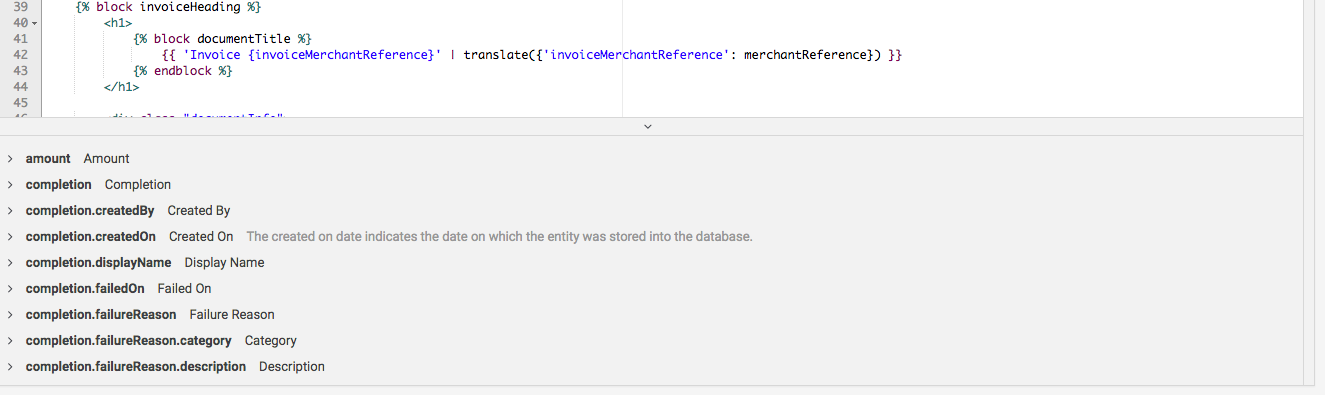
Figure 2. The variables that are available in the context are shown in lower bar of the resource editor.